User Interface
Home Tab🔗
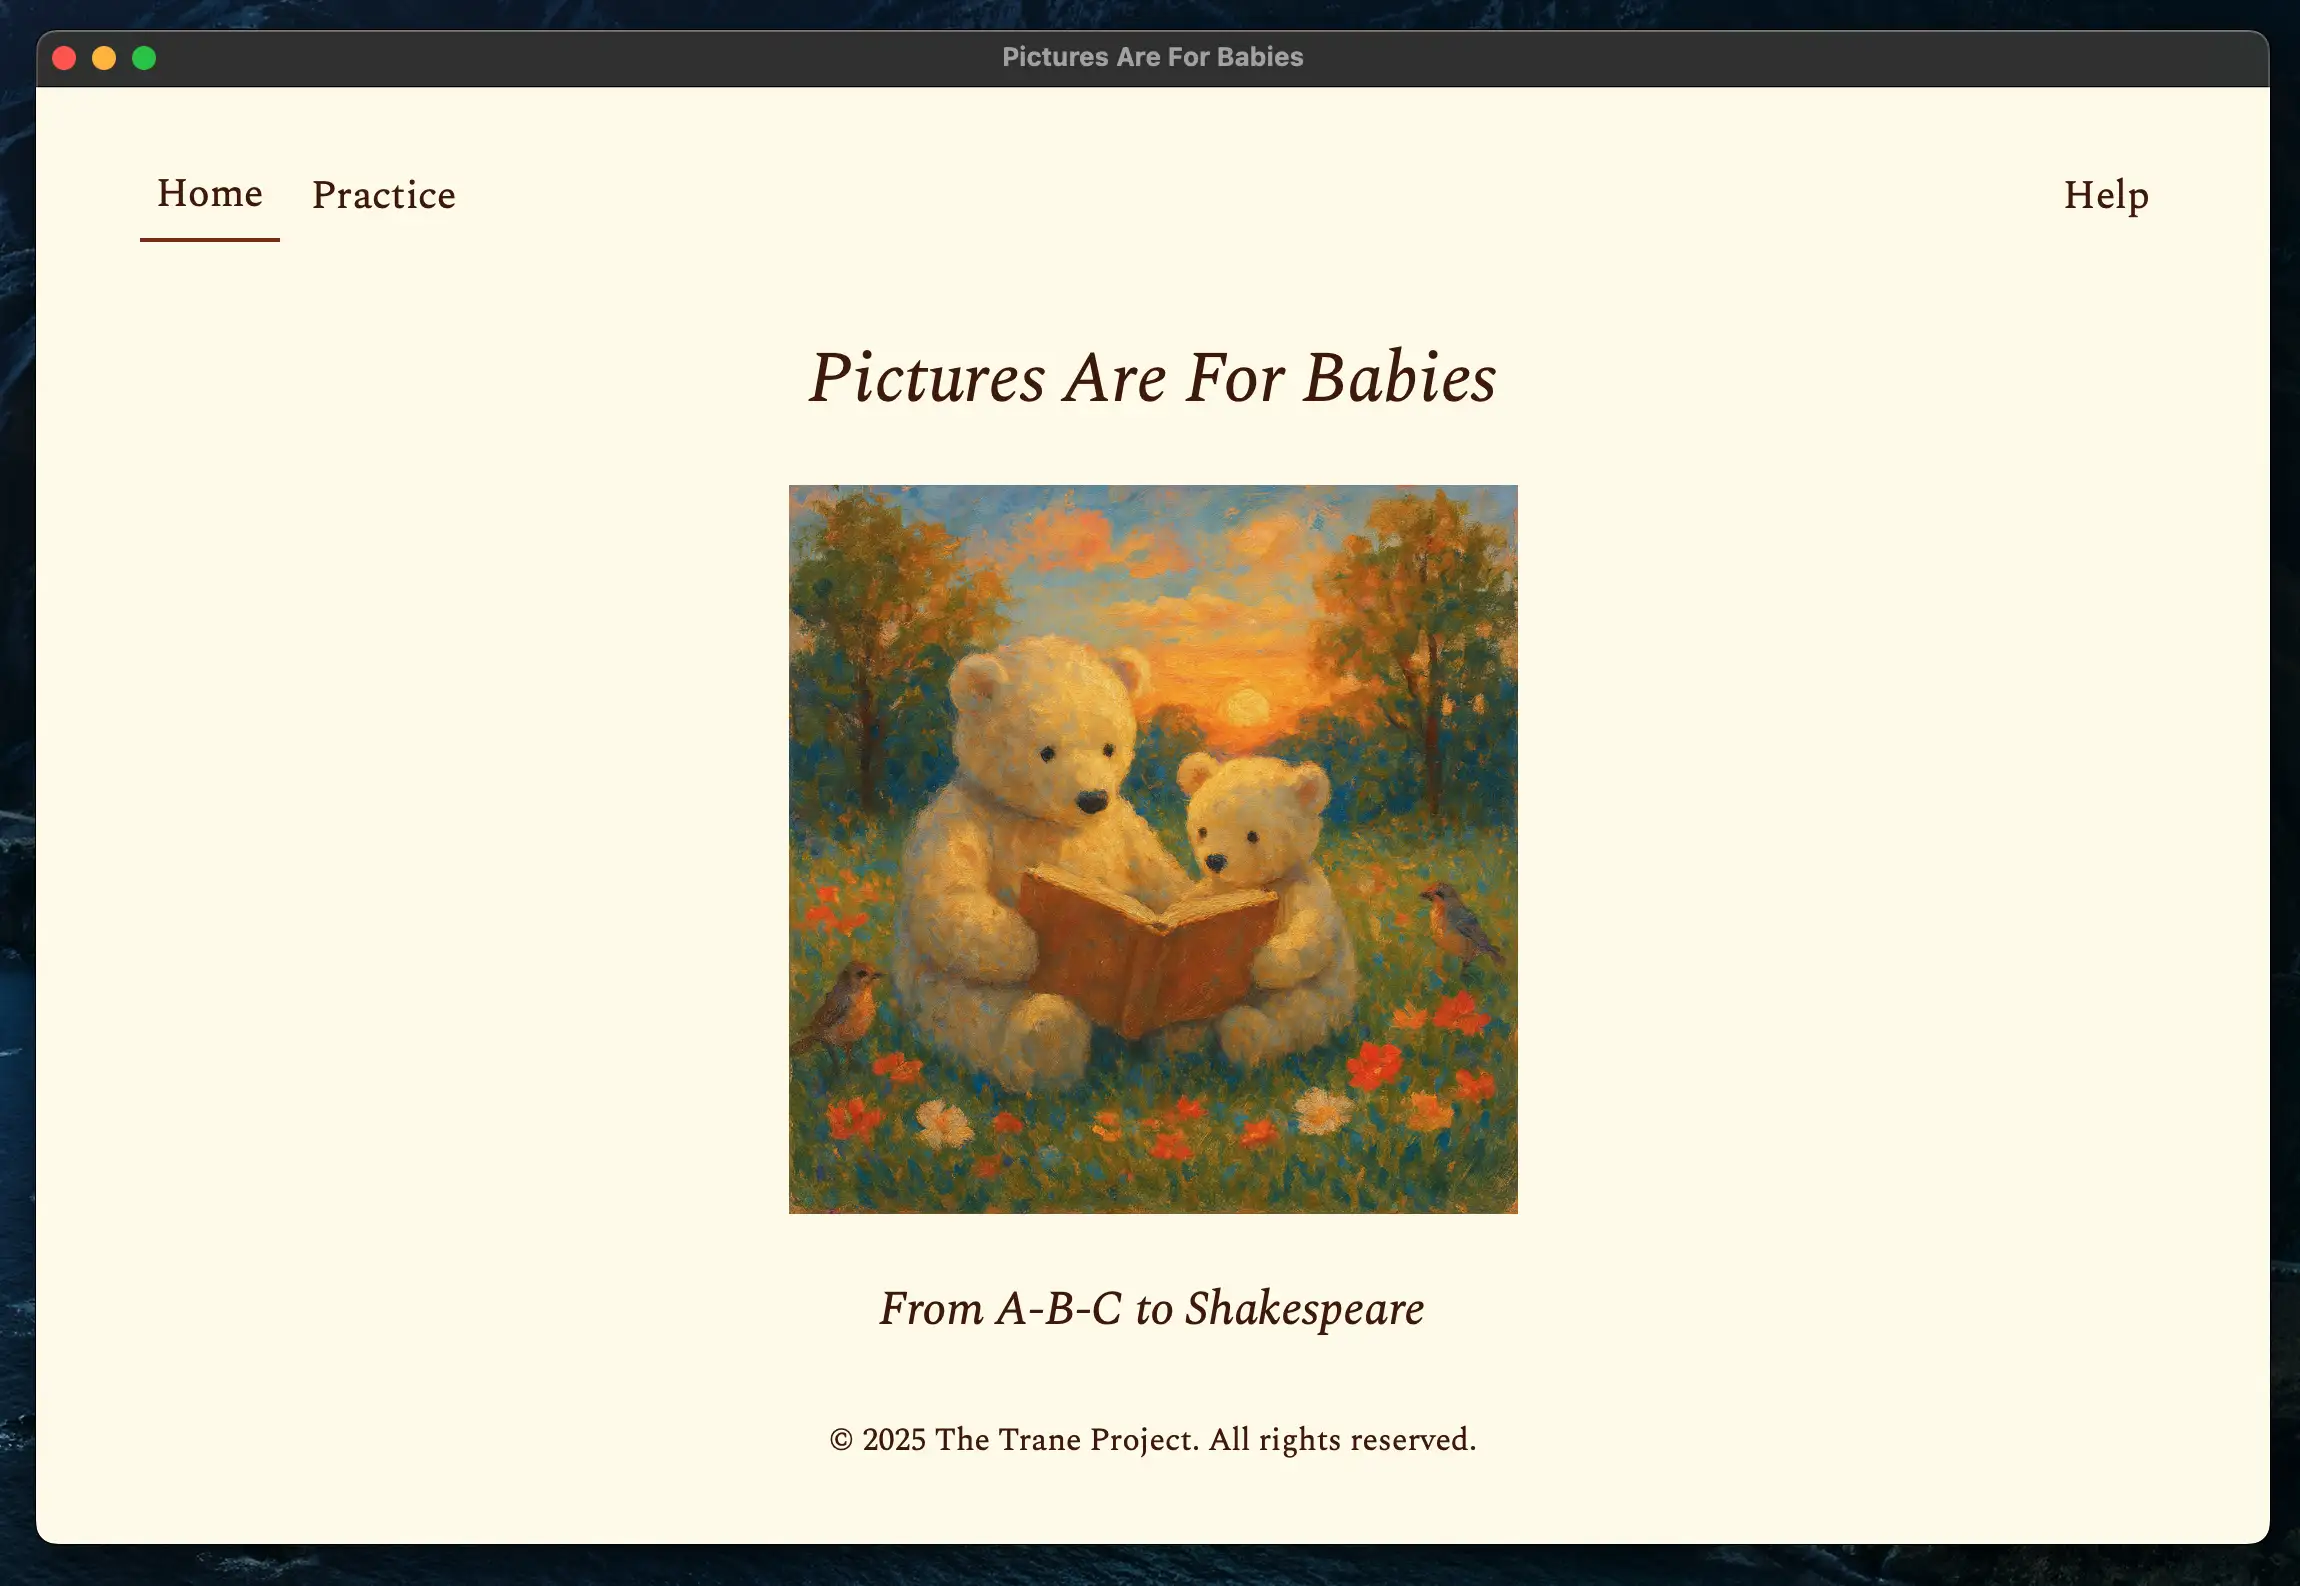
The home tab of Pictures Are For Babies is the first screen you see when you open the software. It does not have any functionality, but it serves as a welcome screen and a starting point for navigation. The home tab displays the name, logo, and slogan.
Accessing more functionality requires clicking on the tabs in the upper navigation bar. When starting the software, the only other tabs available are Practice and Help.
Practice Tab🔗
The Practice tab is where the main functionality of the software is located. When starting the software, the tab shows only one button with the label Select Folder. In order to save progress, users are required to select a folder.
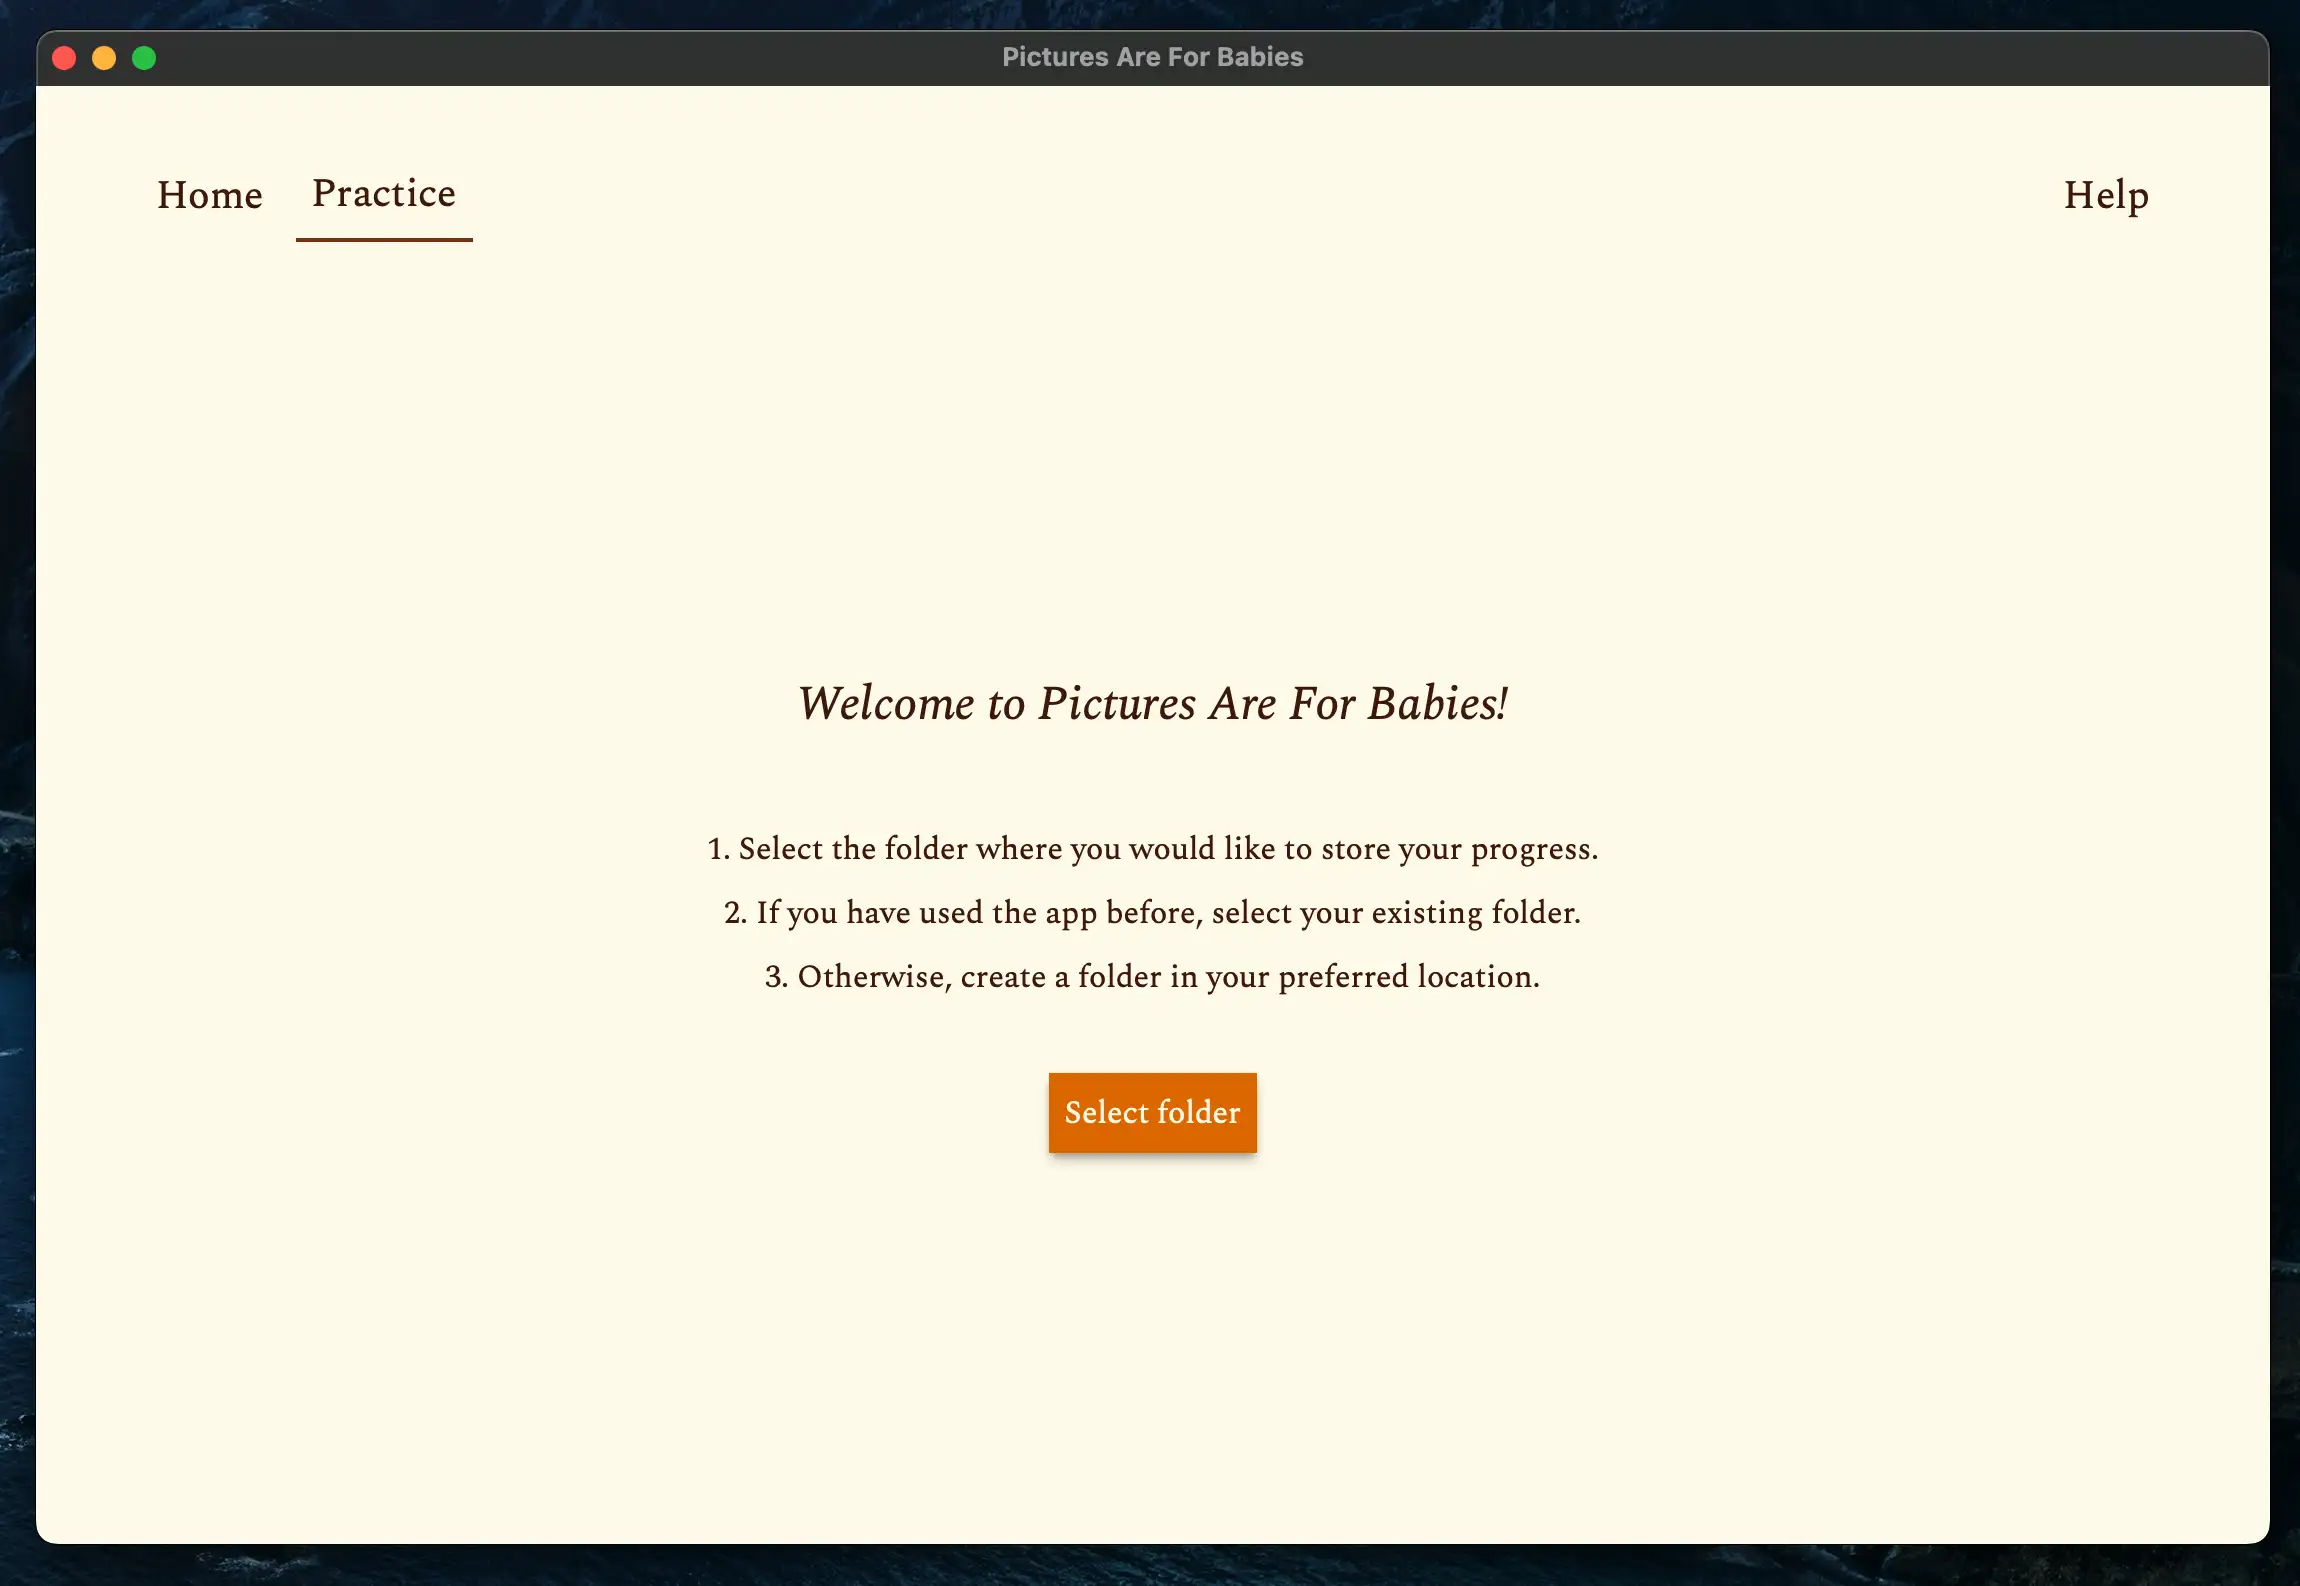
If this is your first time using the software, create a new folder on your computer in the location of your choice, using the file manager of your operating system. Give the folder a descriptive name such as "Pictures Are For Babies - Mike", where "Mike" is the name of the student.
Once that is done, click on the Select Folder button, which will open a file dialog. Select the folder you just created or the pre-existing folder you want to use and click on the Open button. The software will read the contents of the folder and display the main practice screen.
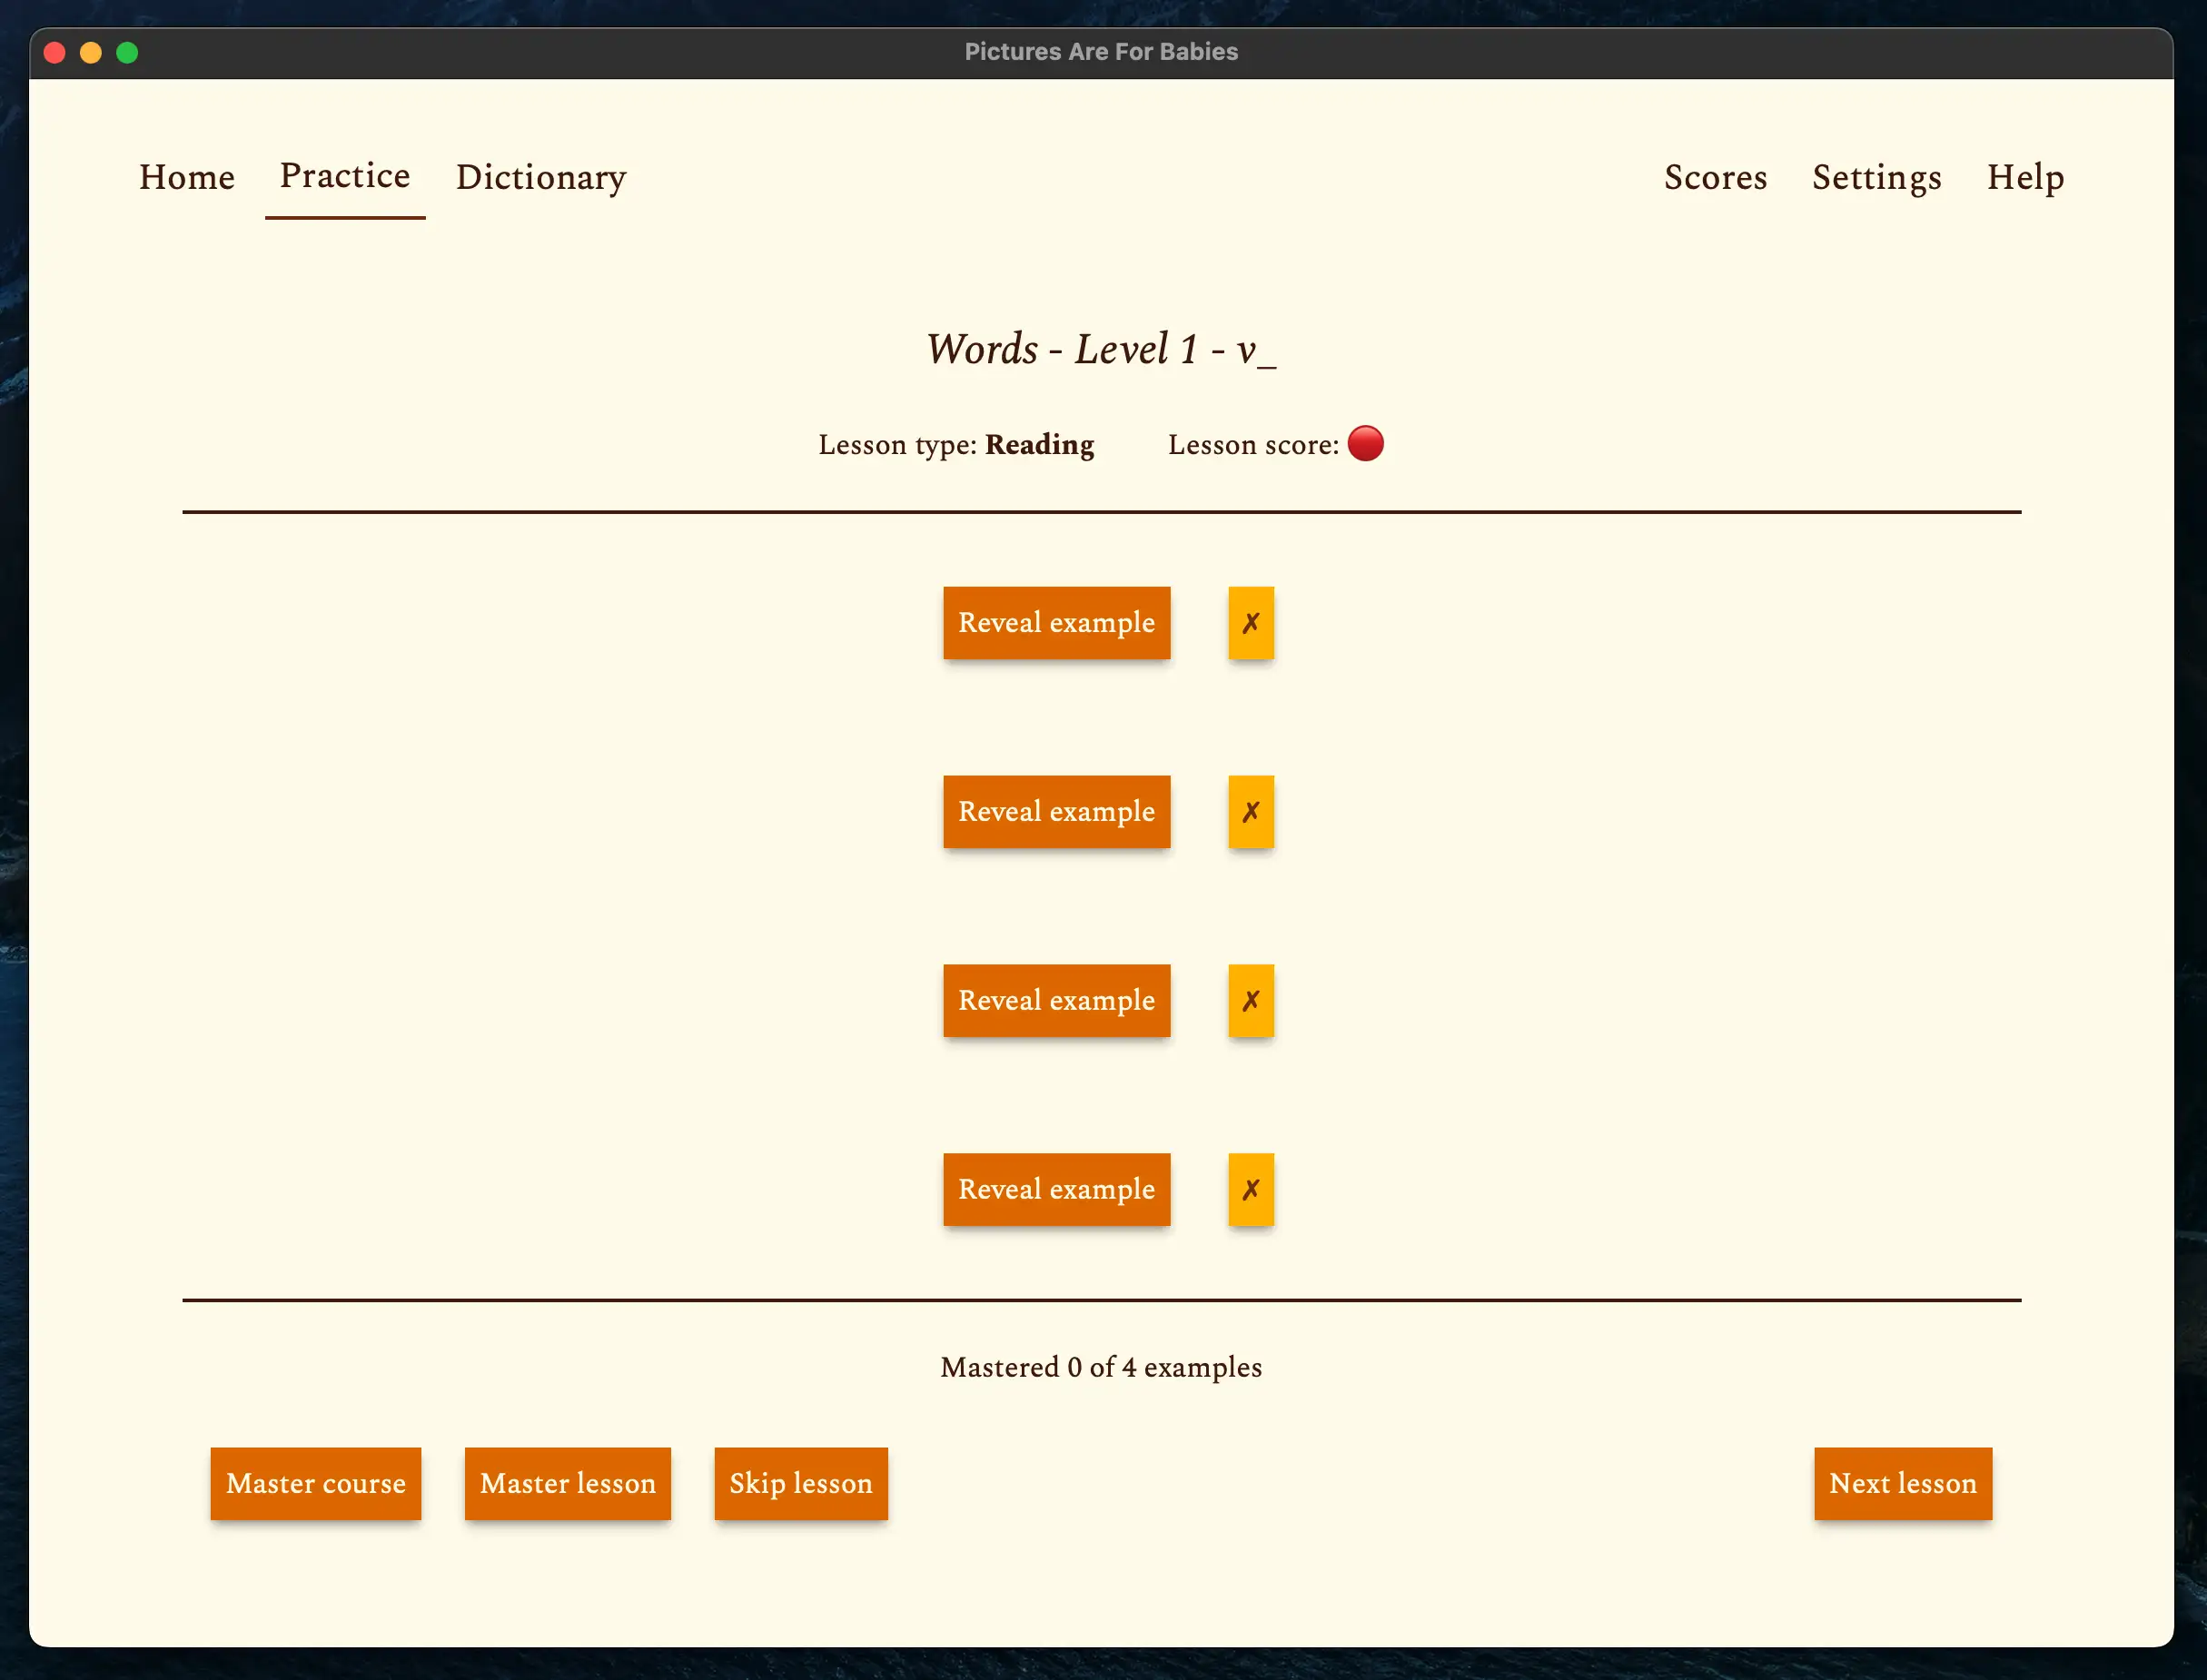
The screen contains multiple elements:
- Header:
- The name of the lesson currently being practiced.
- The lesson type (Reading or Dictation) and the lesson score, which is shown as a colored circle emoji and/or a label.
- An optional button to open the instructions for the lesson if the lesson has any.
- Examples:
- The examples of the lesson, each with a button to reveal the example and a button to mark the example as correct or incorrect.
- The examples are initially hidden to prevent students from cheating by reading them prematurely or by looking at them during dictation lessons.
- Footer:
- A count of how many examples have been marked as mastered.
- A button to mark the course as mastered. If the tutor clicks on it, the course will not be scheduled again and the next courses and lessons will be unlocked.
- A button to mark the lesson as mastered. If the tutor clicks on it, the lesson will not be scheduled again and the next courses and lessons will be unlocked.
- A button to skip the lesson. No score will be submitted for the current lesson. For example, the tutor can use this button if the lesson was recently practiced.
- A button to move to the next lesson. The score for the current lesson will be submitted, and the next lesson will be loaded.
For instructions on how to conduct the lessons, refer to the instructions in the main page of this manual and the specific instructions for conducting symbol, word, and sentence courses.
Once a lesson has been completed, the screen looks like this:

Syncing progress🔗
Because the software works offline with local files, you can sync your progress between multiple devices by using any cloud storage service, such as Google Drive, Dropbox, or iCloud. To do this, simply move the folder you created to the cloud storage location. The license allows you to use the software on multiple devices, provided you use the same folder on each device and use it for a single student or group. The only warning is to make sure the folders are not being used from two separate devices at the same time. However, as long as you are using the software on one device at a time, this should not be a problem.
Dictionary Tab🔗
Once the user has opened a folder, the Dictionary tab becomes available. This tab contains an embedded dictionary that allows the user to quickly look up the meaning and pronunciation of words in case it is needed during a practice session. The dictionary is powered by Wiktionary, because its website can be embedded in external applications.
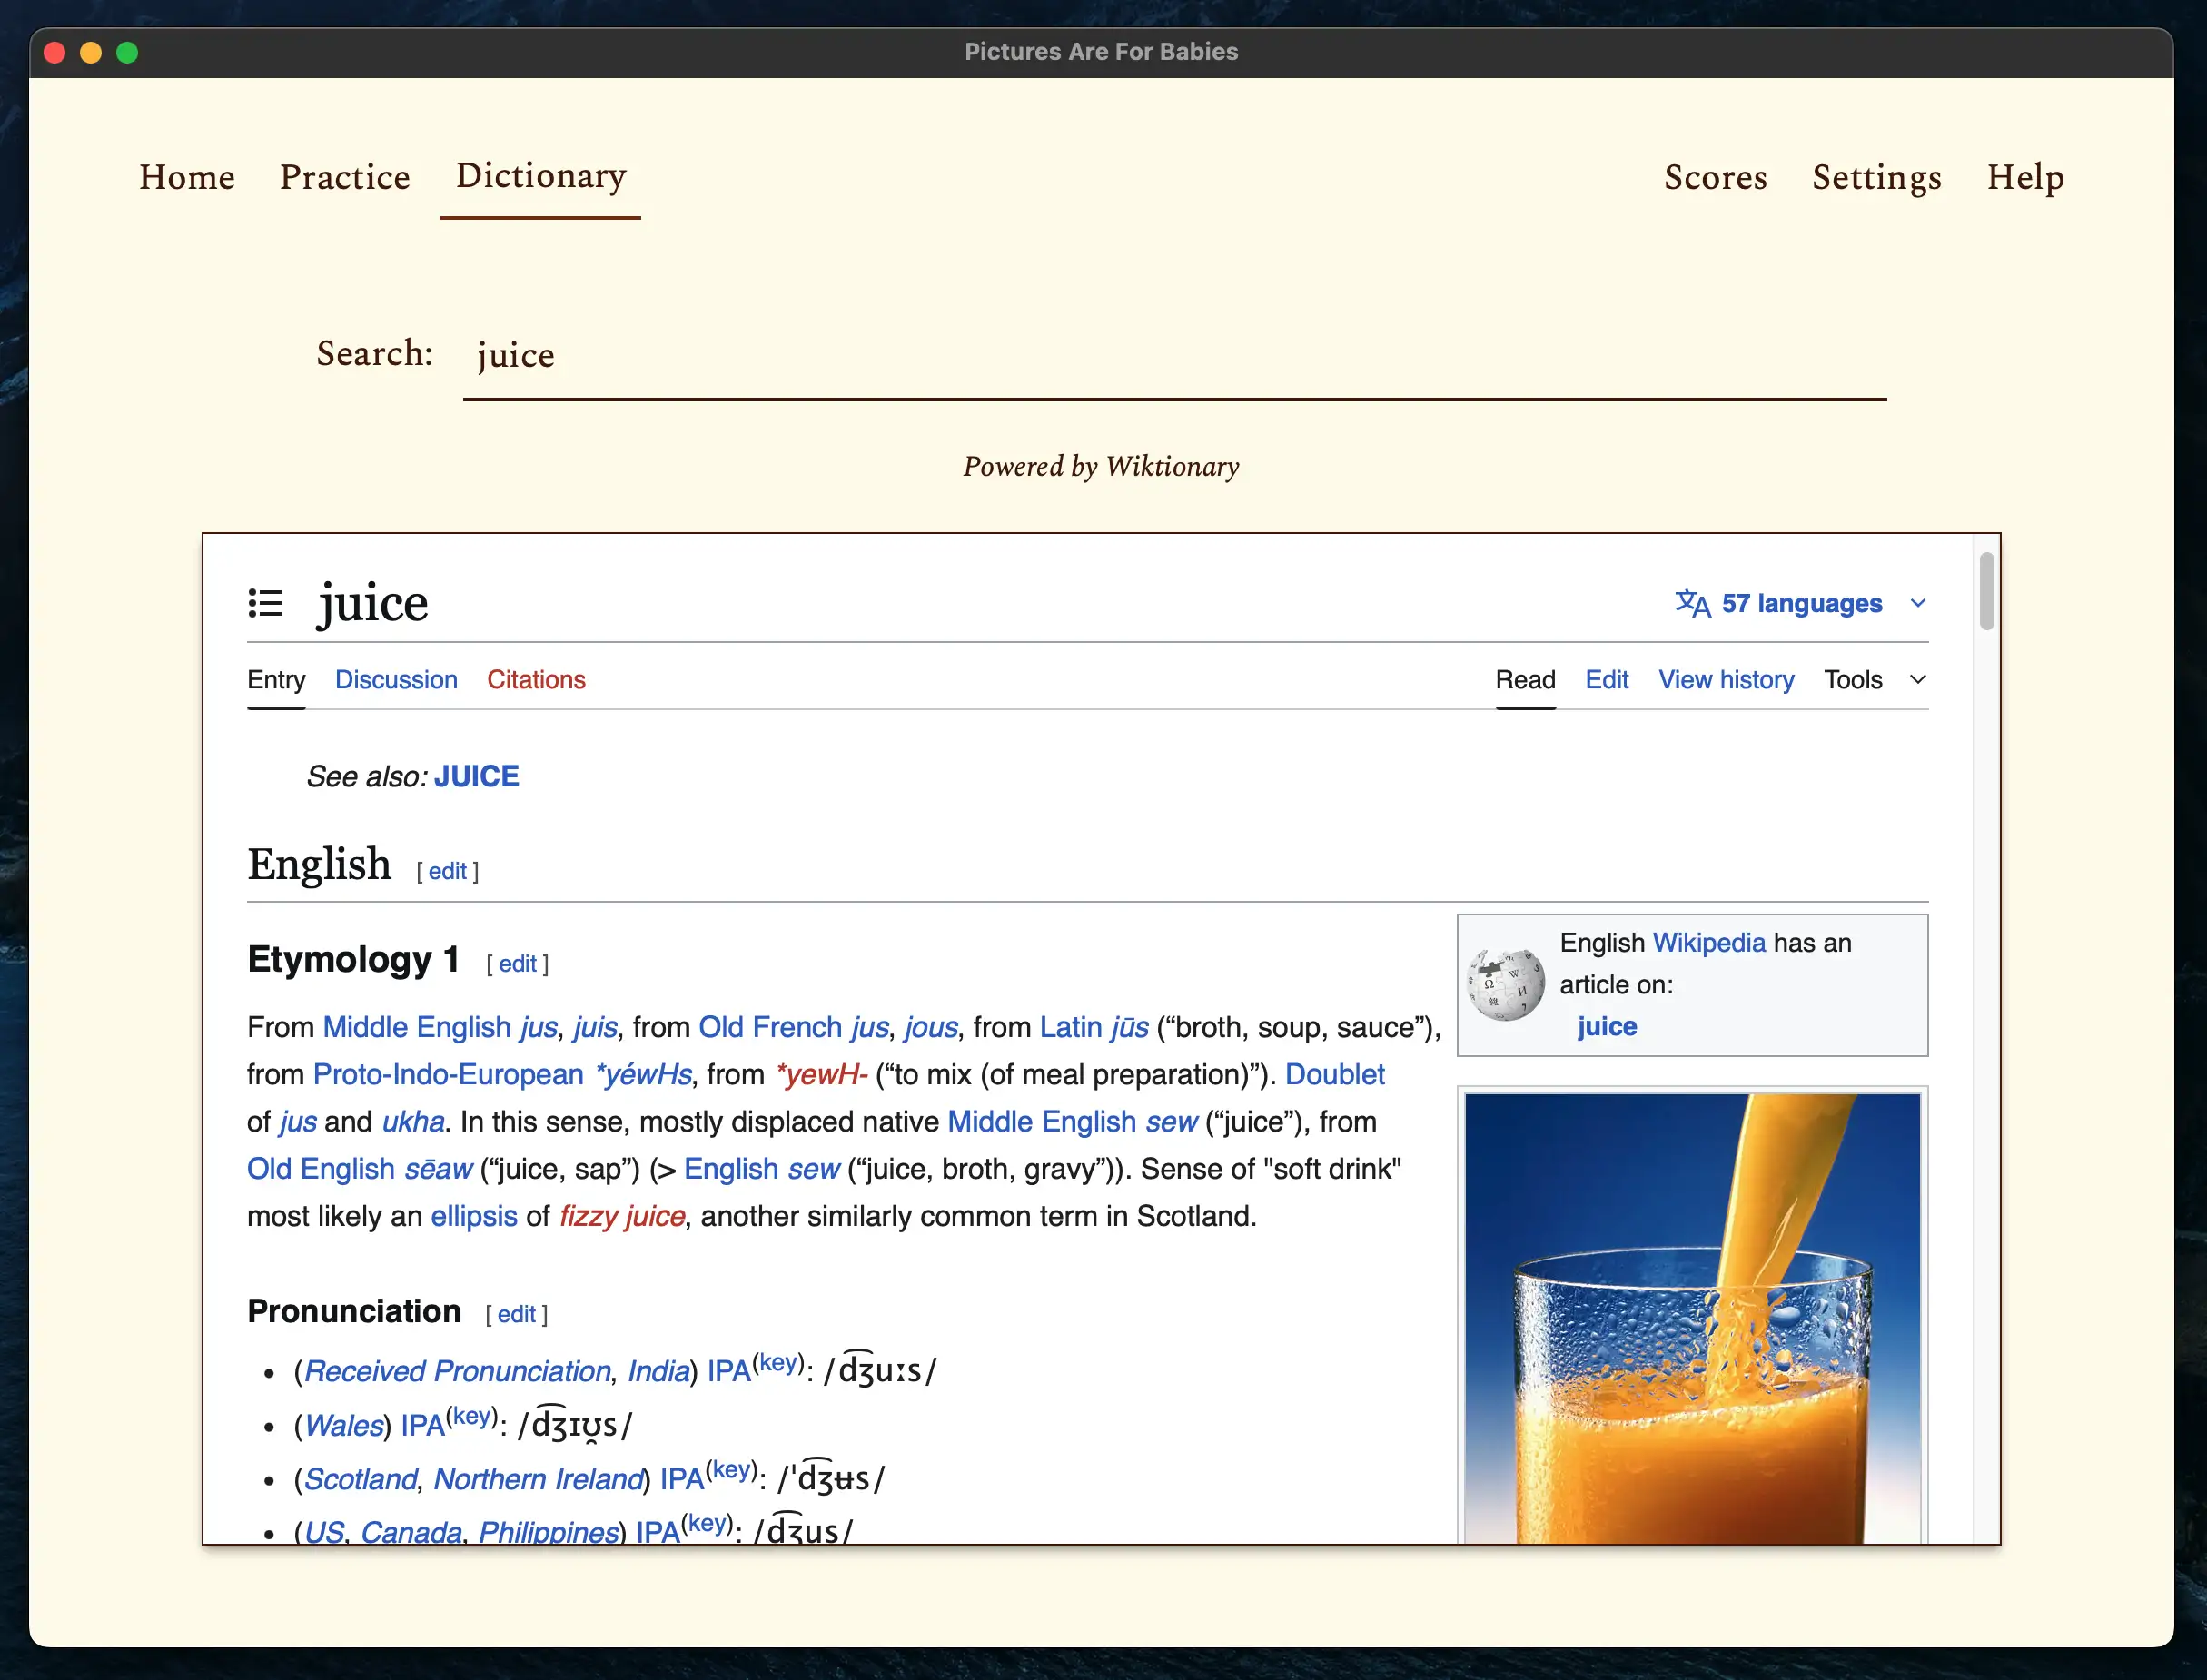
If Wiktionary does not have an entry for a word, these other dictionaries are recommended, although the tutor will have to access them in a web browser:
- Cambridge Dictionary
- Merriam-Webster
- Forvo. It is not a dictionary, but a resource that provides audio pronunciations of words in many languages, including English. It is useful for looking up the pronunciation of words that are not available in any of the above dictionaries.
Late lessons and courses may contain words, such as names of people and places, that are not available in any of the above resources. If the tutor or student has doubts about their pronunciation, they can look them up using a search engine by typing "pronunciation of [WORD]". For example, to look up the pronunciation of "Bonaparte", the tutor can type "pronunciation of Bonaparte".
Scores Tab🔗
Once the user has opened a folder, the Scores tab becomes available. This tab contains a summary of the scores for all the courses in the program. Customers that are using the software with a Lite license will only see the scores for the courses available in the Lite version.

Settings Tab🔗
Once the user has opened a folder, the Settings tab becomes available. This tab contains settings for the software, including license information, accessibility settings, and the list of lessons and courses that the tutor has marked as mastered.
License🔗
Note: Internet connection is required to perform all license operations.
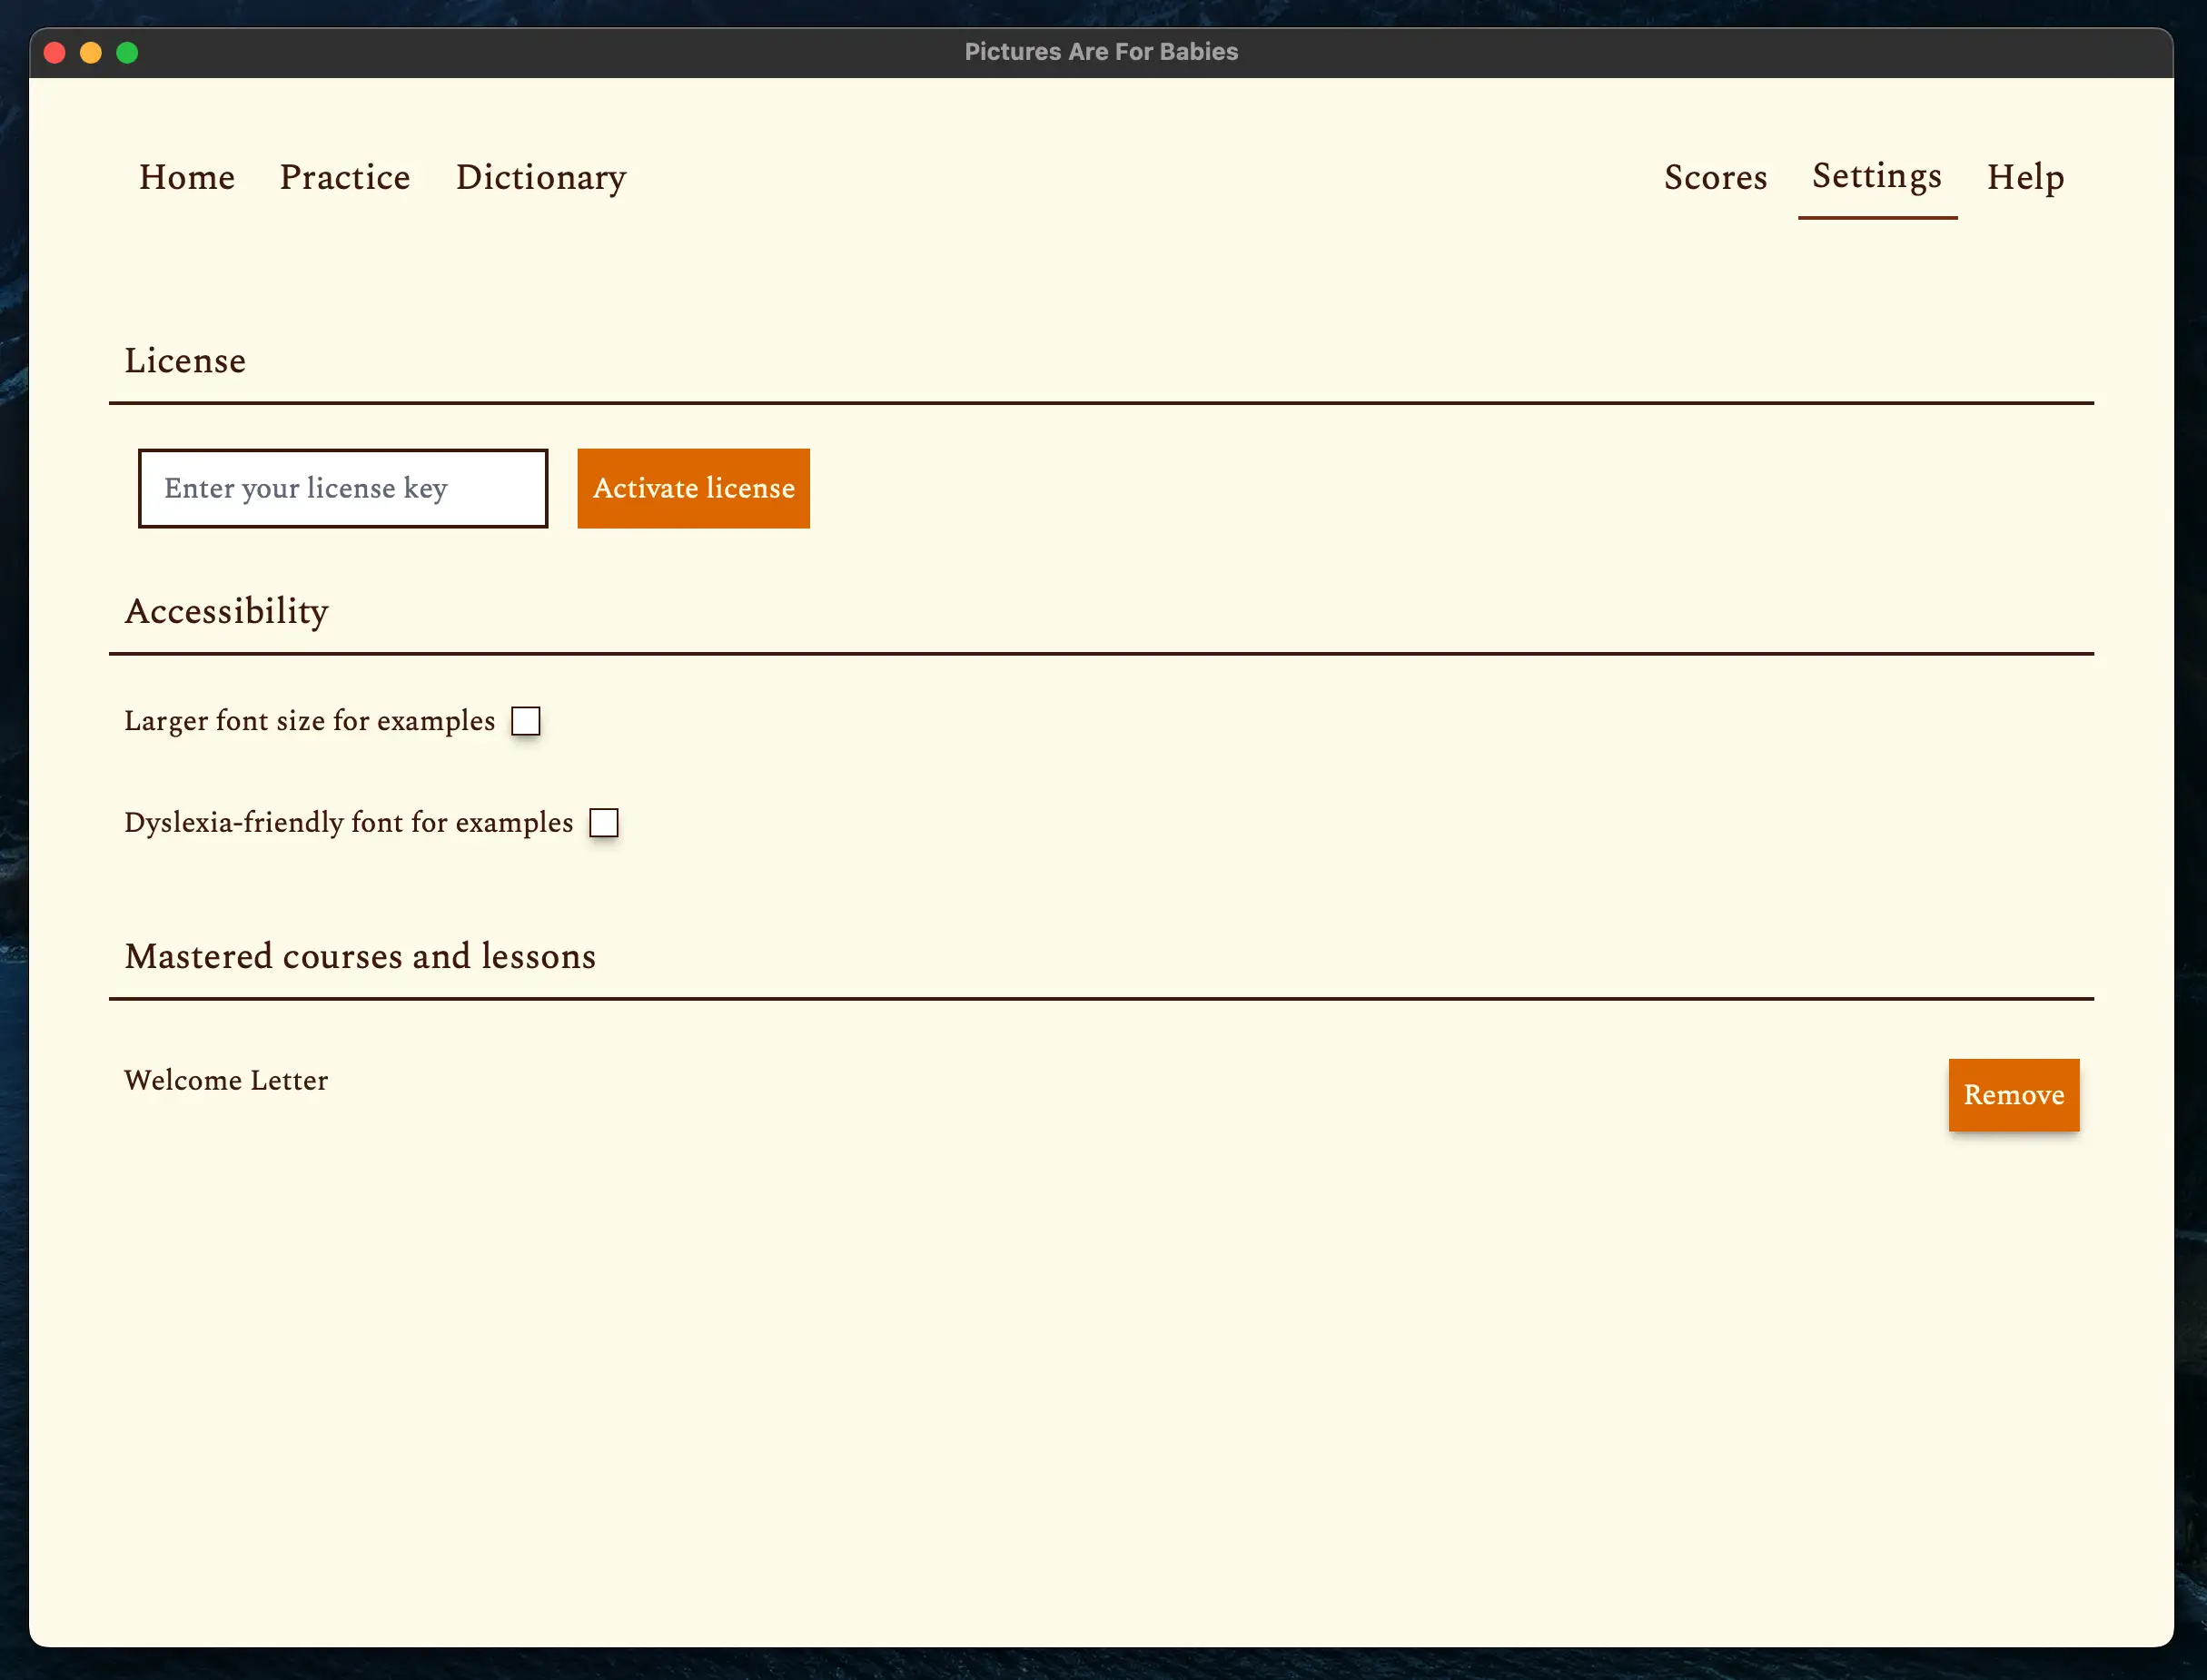
When the user first opens the software and opens a folder, they need to enter their license information in order to unlock the software. Otherwise, the Practice tab will show a warning message, not the main practice screen.
The license part of the settings tab will show a text field to enter the license key, and a button to activate it. The user simply pastes the license key included in the purchase confirmation email into the text field and clicks on the Activate license button.
If the license is valid, the screen will change to show the license information, including the license key, type, status, and activation status. Below it, there are three buttons to revalidate the license, deactivate it, and remove it.
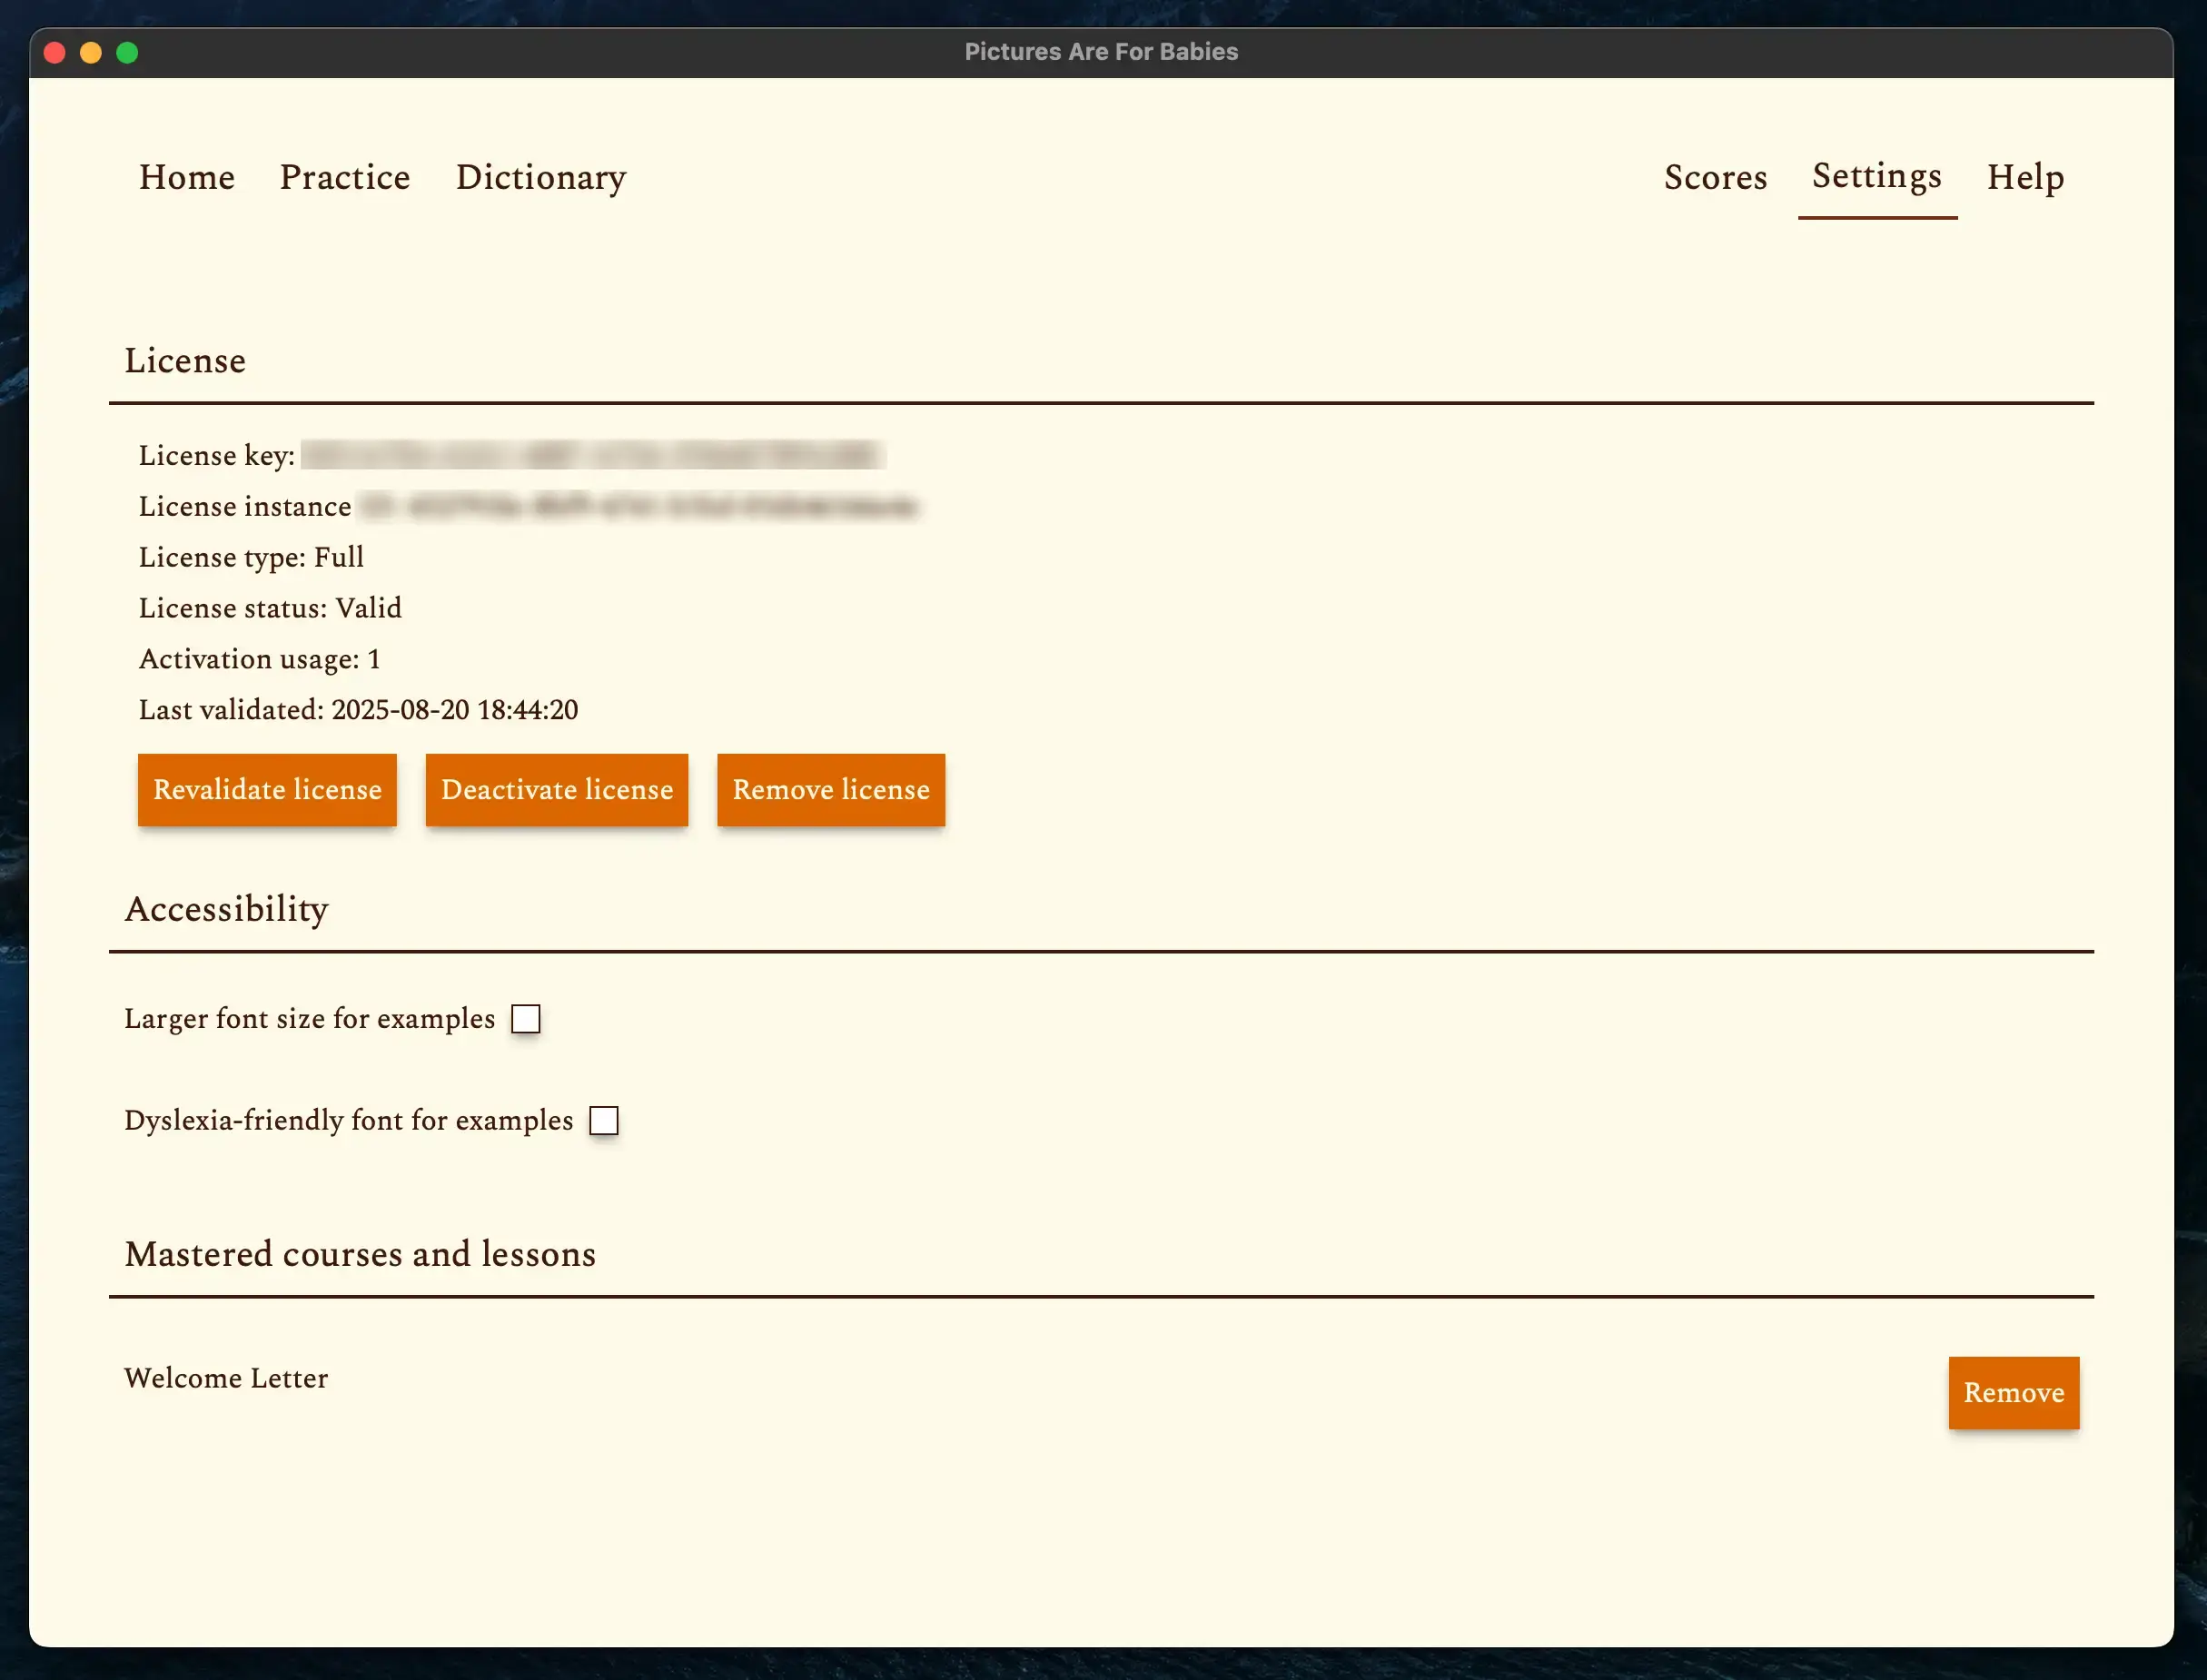
If the user wants to use the software on another device or for another student, they first deactivate it by clicking on the Deactivate license button. This will let the license server know that the license is no longer in use and allow the user to activate it on another device.
The Remove license button should only be used if the user has trouble deactivating the license. It removes the license without first deactivating it. It should only be used as a last resort.
Accessibility🔗
This section contains settings that make the software more accessible.
- Larger font size for examples: When enabled, the examples in the Practice tab will be displayed in a larger font size.
- Dyslexia-friendly font for examples: When enabled, the examples in the Practice tab will be displayed in "OpenDyslexic", a font designed to be more readable for people with dyslexia.
- Show score labels: Show the text labels for the scores in the Practice and Score tabs instead of only the colored circle emojis. Useful for people who are colorblind or have difficulty interpreting colors.
Mastered courses and lessons🔗
This section contains a list of all the courses and lessons that the tutor has marked as mastered in the Practice tab. Each item has a Remove button that allows the tutor to remove it from the list of mastered courses and lessons. This is useful if the tutor wants to revisit a course or lesson that they previously marked as mastered or if they accidentally marked a course or lesson as mastered.
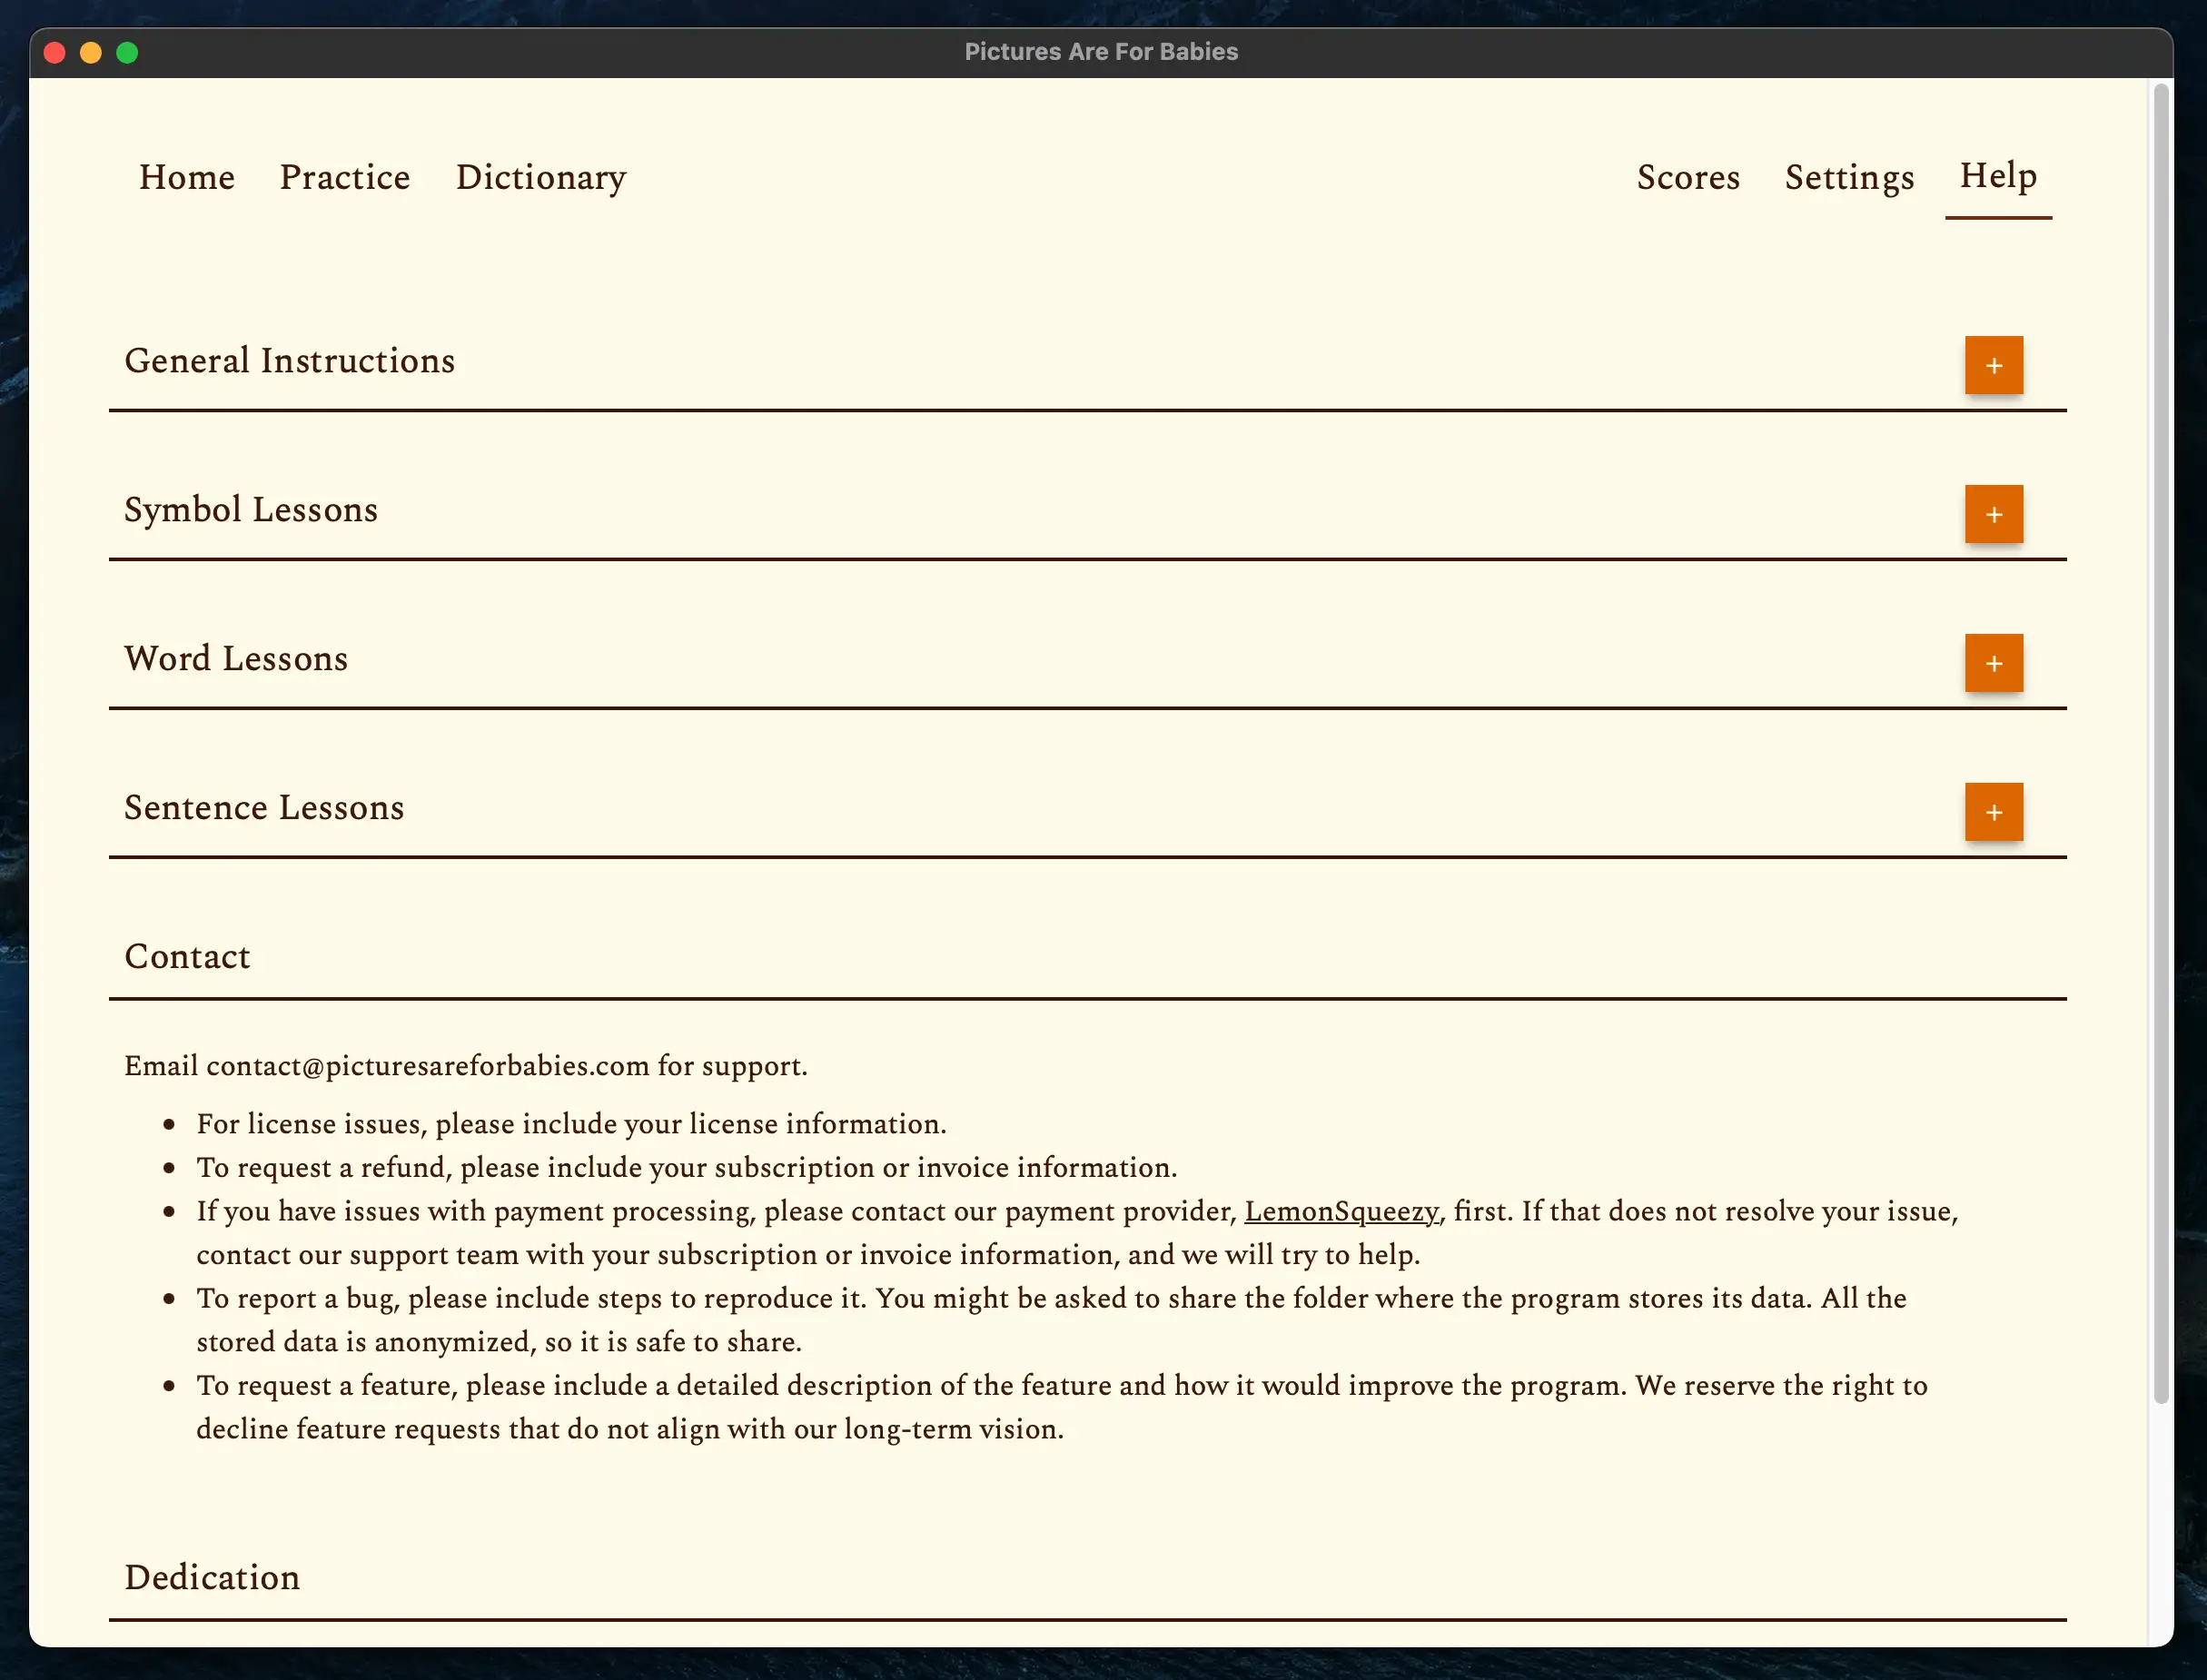
Help Tab🔗
This tab contains a version of this manual optimized for reading within the software itself. It contains the instructions, but removes the commentary sections, the installation instructions, and any images. It also contains information on how to get software updates, contact support to report bugs, payment or license issues, or feature requests.